Easy Greek Orzo Pasta Recipe- Flavorful Mediterranean Dish
Greek orzo is more than just a pasta dish; it’s a vibrant culinary embrace of sunshine, fresh ingredients, and simple pleasures. If you’re searching for a weeknight meal that feels both comforting and a little bit exotic, look no further than this delightful Greek orzo. What makes this dish so universally loved? It’s the perfect balance of textures and flavors: tender orzo pasta mingling with bright vegetables, savory olives, and the zesty tang of lemon and herbs. It’s incredibly versatile, easily adaptable to whatever fresh produce you have on hand, making it a sustainable and satisfying choice for any home cook. Forget fussy, complicated meals; Greek orzo offers a taste of the Mediterranean that’s approachable, healthy, and utterly delicious. Prepare to fall in love with this flavorful staple.
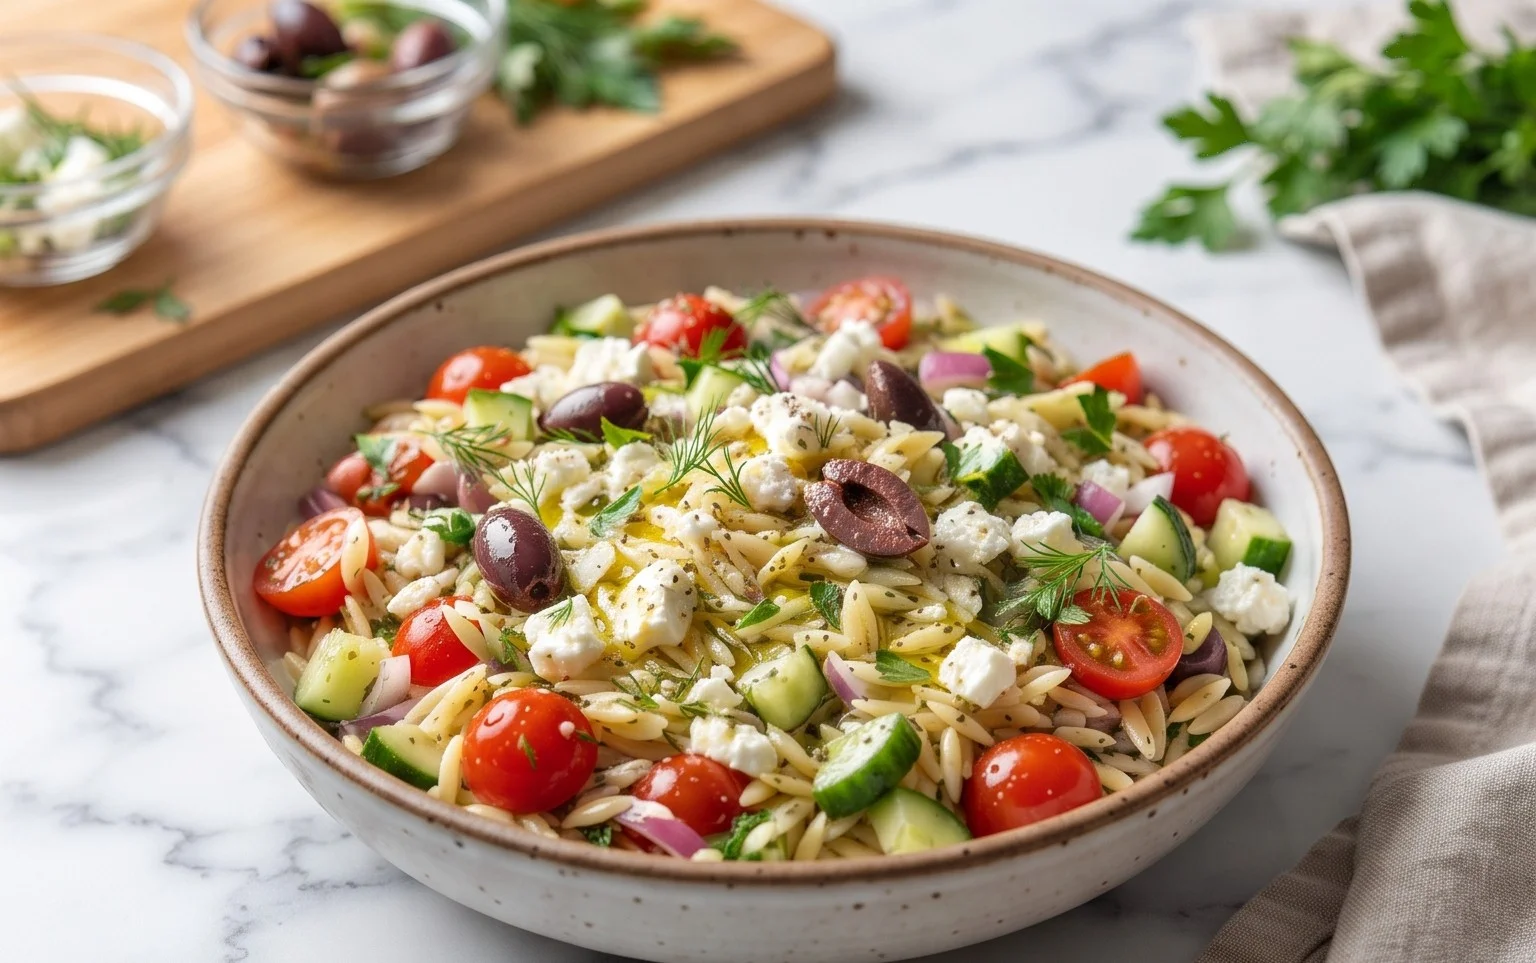
Greek Orzo is a vibrant and incredibly flavorful dish that brings the taste of the Mediterranean right to your kitchen. It’s a wonderful one-pot wonder, perfect for a quick weeknight meal or for impressing guests with minimal fuss. The combination of tender orzo pasta, bright cherry tomatoes, briny olives, and tangy feta cheese, all infused with lemon and herbs, creates a symphony of flavors and textures. I love how adaptable this recipe is too; feel free to add your favorite veggies or protein to make it your own. Let’s get started on this delightful Greek Orzo!
Ingredients:
Cooking Instructions
1. Sautéing the Aromatics and Orzo: First, let’s get a large, heavy-bottomed pot or a Dutch oven heated over medium heat. Add about 1 tablespoon of the extra virgin extract olive oil from your measured amount. Once the oil is shimmering, add the chopped sun-dried tomatoes and cook for about 1-2 minutes, stirring occasionally, until they become slightly more fragrant. This step really wakes up their intense flavor. Now, add the uncooked orzo pasta to the pot. We’re going to toast the orzo for about 2-3 minutes, stirring constantly. You’ll notice it starts to turn a beautiful golden brown color. Toasting the orzo is a crucial step that adds a nutty depth of flavor and prevents it from becoming mushy later on. It also helps the pasta absorb the liquid more evenly.
2. Adding the Liquids and Simmering: Next, pour in the 3 cups of chicken stock (or your chosen alternative). Scrape the bottom of the pot with your spoon to loosen any bits of orzo or sun-dried tomatoes that might have stuck. This is also where we’ll add the smoked paprika and Italian seasoning. Stir everything together well to ensure the seasonings are distributed. Bring the mixture to a gentle simmer. Once simmering, reduce the heat to low, cover the pot tightly, and let it cook. This is where the magic happens as the orzo absorbs the flavorful stock. We’ll let it cook for about 10-12 minutes, or until the orzo is al dente, meaning it’s cooked through but still has a slight bite to it. Resist the urge to lift the lid too often, as this releases steam and can affect the cooking time.
3. Incorporating the Freshness: After the orzo has cooked for the allotted time and most of the liquid has been absorbed, it’s time to add some of the vibrant elements. Remove the pot from the heat. Gently stir in the halved cherry tomatoes, sliced kalamata olives, and sliced green olives. The residual heat from the cooked orzo will be enough to slightly warm these ingredients without making the tomatoes mushy. Now, add the remaining 2 tablespoons of extra virgin extract olive oil, the freshly squeezed lemon juice (or lime juice), and the chopped fresh basil. Stir everything together gently. The lemon juice will add a lovely brightness that cuts through the richness of the other ingredients.
4. The Creamy, Tangy Finish: This is perhaps my favorite part – adding the feta cheese! Gently fold in the crum extractbled or diced feta cheese. As you stir, the feta will start to soften and melt slightly, creating a wonderfully creamy texture throughout the orzo. It also adds that essential salty, tangy Greek flavor that makes this dish so special. Taste the orzo at this point and season generously with salt and freshly ground black pepper. Remember that the olives and feta are already salty, so adjust accordingly. You might find you need less salt than you initially thought.
5. Resting and Serving: Once everything is well combined and seasoned to your liking, cover the pot again and let the Greek Orzo rest for about 5 minutes. This resting period allows all the flavors to meld together beautifully and for the orzo to finish absorbing any remaining moisture, ensuring a perfect consistency. After resting, give it one final gentle stir. Serve the Greek Orzo warm. It’s delicious on its own as a light meal or a hearty side dish. You can also garnish it with a little extra fresh basil or a drizzle of olive oil if you like. Enjoy the vibrant flavors of Greece!
Conclusion:
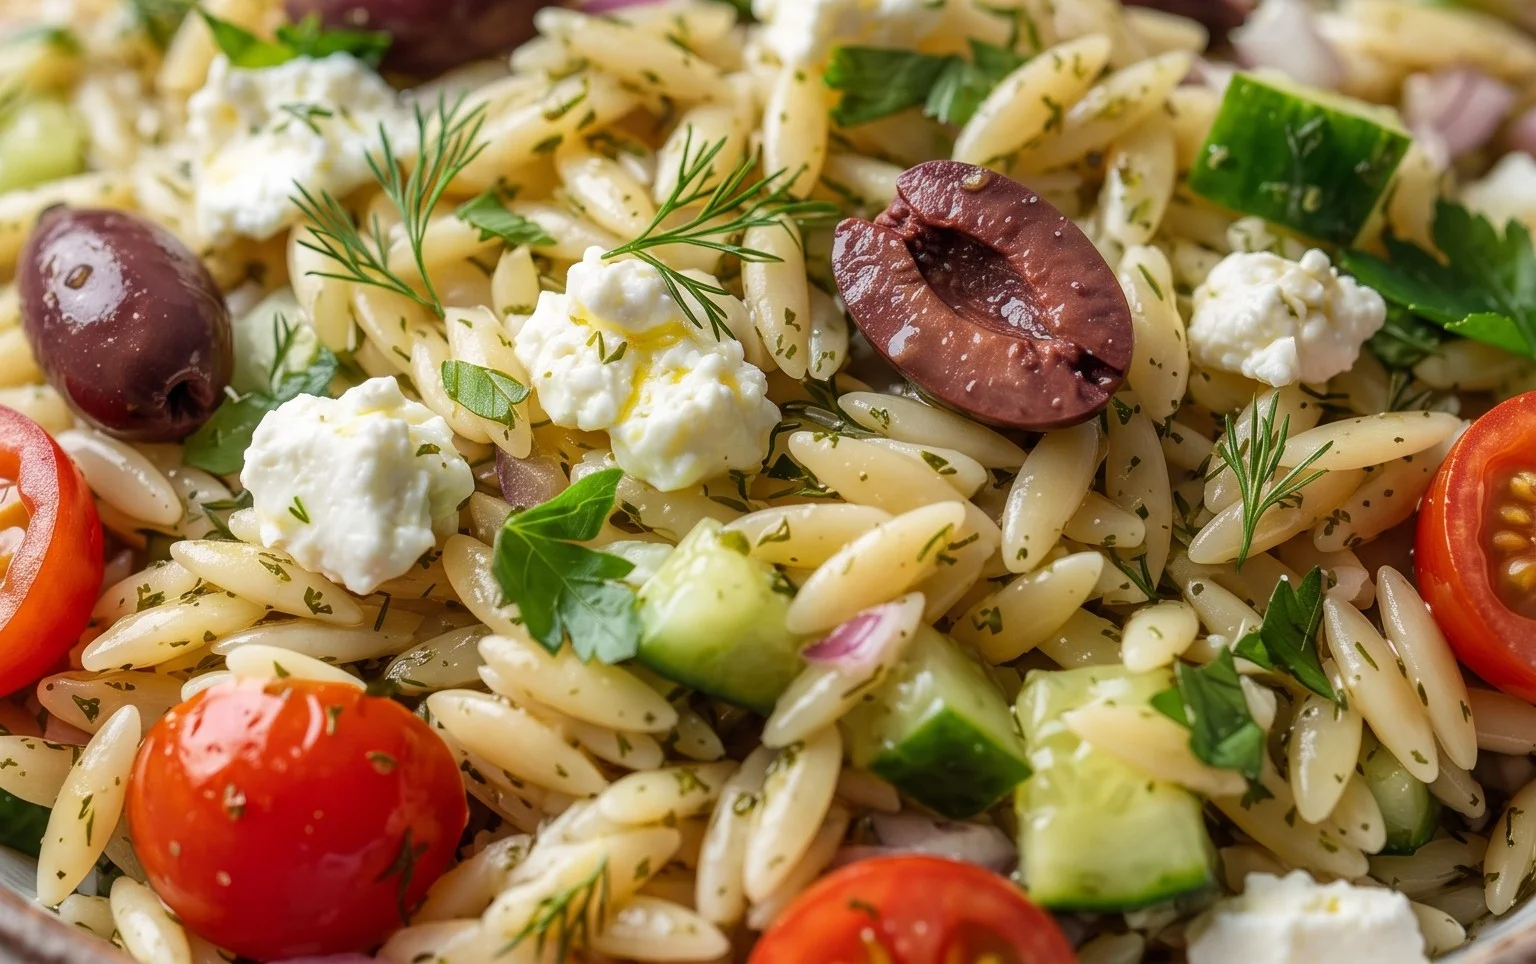
I hope you’ve enjoyed learning how to make this delicious Greek Orzo! This recipe is a fantastic choice for a weeknight meal or a delightful side dish because it’s incredibly versatile, relatively quick to prepare, and bursting with fresh, Mediterranean flavors. The combination of tender orzo pasta, vibrant vegetables, briny olives, and tangy feta cheese creates a harmonious and satisfying dish that’s greater than the sum of its parts. It’s a wonderful way to bring a taste of Greece to your table with minimal fuss.
This Greek Orzo is wonderful served warm as a main course alongside grilled chicken or fish, or it can be chilled and enjoyed as a refreshing salad. For even more flavor, consider adding grilled halloumi cheese or a sprinkle of fresh dill. Don’t be afraid to experiment with different vegetables too – bell peppers, zucchini, or even some chopped spinach would be excellent additions. I truly encourage you to give this recipe a try; I’m confident you’ll love its simplicity and incredible taste.
Frequently Asked Questions:
Can I make this Greek Orzo ahead of time?
Absolutely! This dish is excellent for meal prepping. You can prepare it completely a day in advance and store it in an airtight container in the refrigerator. The flavors will meld together even further, making it even more delicious. You might need to add a splash of olive oil or lemon juice to loosen it up before serving if it has become too firm.
What other protein options work well with this Orzo?
Besides chicken or fish, this Greek Orzo pairs wonderfully with seasoned chickpeas for a vegetarian option, grilled shrimp, or even some thinly sliced lamb. The key is to choose a protein that complements the fresh, zesty flavors of the orzo itself.
Greek Orzo Salad
A refreshing and flavorful Greek-inspired orzo salad with sun-dried tomatoes, olives, feta, and a bright lemon dressing.
Ingredients
-
1.5 cups orzo
-
3 cups chicken stock
-
8 oz cherry tomatoes, sliced in half
-
1/3 cup sun-dried tomatoes in olive oil, chopped
-
1/3 cup kalamata olives, sliced
-
1/4 cup green olives, sliced
-
6 oz feta cheese, crumbled
-
3 tablespoons lemon juice, freshly squeezed
-
3 tablespoons extra virgin olive oil
-
1/4 teaspoon smoked paprika
-
1/4 teaspoon Italian seasoning
-
1/4 cup fresh basil, chopped
-
salt and pepper to taste
Instructions
-
Step 1
Cook orzo according to package directions in chicken stock. Drain and rinse with cold water to stop the cooking process. -
Step 2
In a large bowl, combine the cooked orzo, halved cherry tomatoes, chopped sun-dried tomatoes, sliced kalamata olives, and sliced green olives. -
Step 3
Crumble or dice the feta cheese and add it to the bowl with the orzo mixture. -
Step 4
In a small bowl, whisk together the lemon juice, extra virgin olive oil, smoked paprika, and Italian seasoning to create the dressing. -
Step 5
Pour the dressing over the orzo mixture and toss gently to combine all ingredients. -
Step 6
Stir in the chopped fresh basil and season with salt and pepper to taste. Serve chilled.
Important Information
Nutrition Facts (Per Serving)
It is important to consider this information as approximate and not to use it as definitive health advice.
Allergy Information
Please check ingredients for potential allergens and consult a health professional if in doubt.