Easy Keto Bread Rolls – Fluffy & Delicious
Keto Bread Rolls have truly revolutionized my low-carb journey, and I’m so excited to share this recipe with you! For so long, the thought of a warm, fluffy roll alongside my favorite keto meals felt like a distant dream. But no more! These keto bread rolls are the answer to your carb-craving prayers, offering that satisfying, comforting texture without the guilt. What makes them so special? It’s their incredible versatility and the fact that they taste remarkably like the real thing. Imagin extracte dipping a perfectly golden-brown keto bread roll into your rich keto stew, or using it to scoop up some creamy avocado. They’re perfect for breakfast, lunch, or dinner, and are surprisingly simple to whip up. Get ready to fall in love with bread all over again!
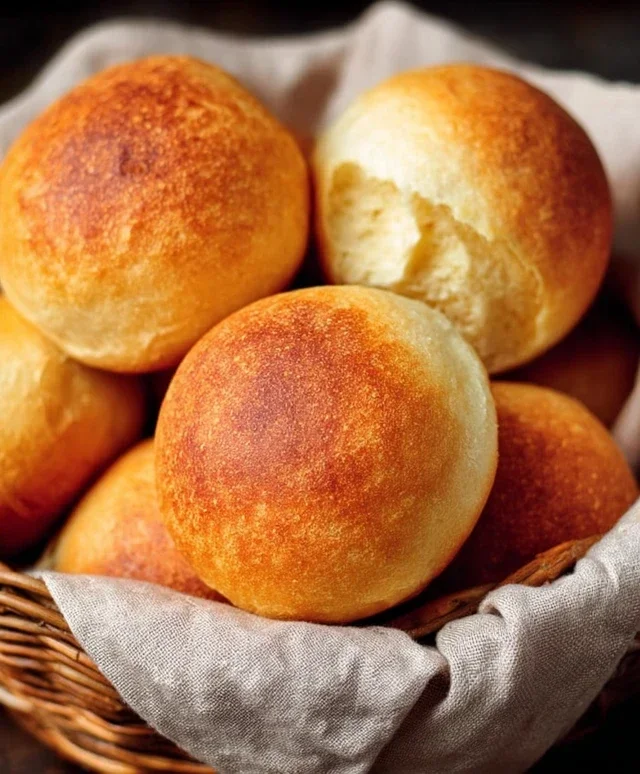
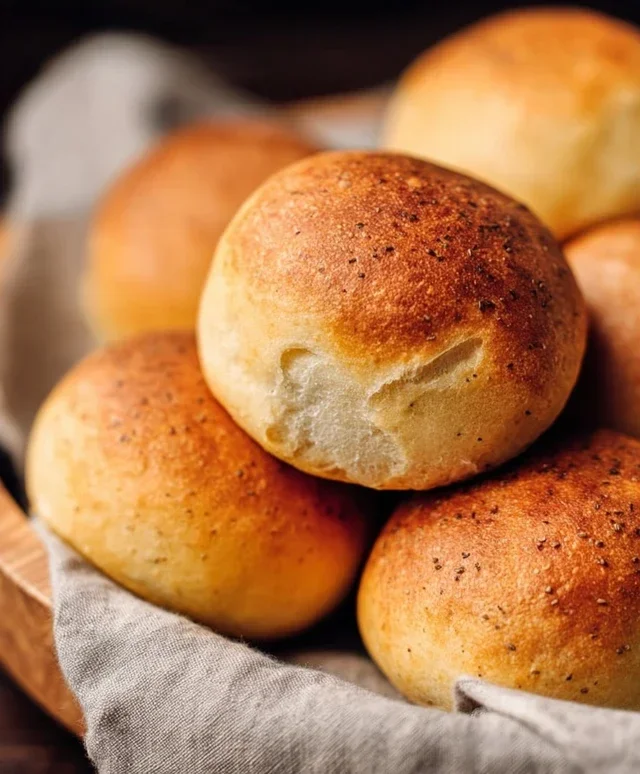
Keto Bread Rolls
Are you craving that warm, comforting feeling of freshly baked bread but sticking to your ketogenic lifestyle? I know the struggle! Finding truly satisfying keto bread recipes can feel like a quest. That’s why I’m so excited to share these incredibly simple and delicious Keto Bread Rolls with you. They’re surprisingly easy to make, require minimal ingredients, and the result is a delightfully soft and chewy roll with a slightly cheesy flavor that’s perfect for slathering with butter, using for mini sandwiches, or simply enjoying on their own. Forget those crum extractbly, dry keto breads of the past; these rolls are a game-changer! They bake up beautifully golden brown and have a texture that will make you forget you’re even on a low-carb diet.
Ingredients:
Notes on Ingredients:
The cheese choice is really up to your preference! I find a blend of mozzarella and cheddar gives a fantastic flavor and melt. If you’re using cheddar, opt for a sharper one for more pronounced taste. Mozzarella alone will yield a more neutral, stretchier interior. Some people even like to add a touch of parmesan for extra savory notes. For the cream cheese, make sure it’s truly softened. This makes it much easier to incorporate into the cheese mixture and prevents any lumps. When it comes to the eggs, we’ll be using the yolks in the main dough and the whites for a bit of lift and binding. This separation helps achieve a better texture. The baking powder is technically optional, but I find it gives these rolls an extra boost in fluffiness, so I highly recommend it if you have it on hand.
Cooking Instructions:
Phase 1: Preparing the Dough Base
Phase 2: Whipping the Egg Whites
Phase 3: Shaping and Baking
These keto bread rolls are incredibly versatile. Enjoy them fresh out of the oven with a generous dollop of butter, use them to make miniature sandwiches, or serve them alongside your favorite keto soup or stew. They also freeze wonderfully, so you can make a batch and have them on hand for whenever that bread craving strikes!
Conclusion:
There you have it! These Keto Bread Rolls are a game-changer for anyone following a ketogenic lifestyle, or simply looking for a delicious, low-carb alternative to traditional bread. Their versatility is truly remarkable, making them perfect as a side for hearty stews, a base for mini pizzas, or simply enjoyed warm with a smear of butter. The satisfying texture and subtly nutty flavor will have you wondering how you ever managed without them. Don’t be intimidated by the ingredients; the process is straightforward and the reward is immense. I encourage you to give these Keto Bread Rolls a try – you won’t be disappointed!
Frequently Asked Questions:
Can I make these rolls ahead of time?
Absolutely! These Keto Bread Rolls can be baked and stored in an airtight container at room temperature for up to 2-3 days, or in the refrigerator for up to a week. For longer storage, you can freeze them individually wrapped and reheat them in a toaster oven or microwave.
What are some other topping ideas besides sesame seeds?
The possibilities are endless! Try a sprinkle of garlic powder and dried herbs like rosemary or oregano for an Italian-inspired flavor. Poppy seeds, everything bagel seasoning, or even a dusting of shredded Parmesan cheese before baking also make for delicious variations. Get creative and find your favorite topping combination!
Are these rolls truly gluten-free?
Yes, provided all your ingredients are certified gluten-free. This recipe primarily uses almond flour and coconut flour, which are naturally gluten-free alternatives. Always check the labels of your ingredients to ensure they meet your dietary needs.
Keto Bread Rolls
Delicious and easy keto bread rolls made with cheese and almond flour.
Ingredients
-
2 cups shredded cheese (mozzarella or cheddar)
-
1/4 cup cream cheese, softened
-
1 1/2 cups almond flour
-
3 large eggs, divided
-
1 teaspoon baking powder (optional)
Instructions
-
Step 1
Preheat oven to 350°F (175°C). Line a baking sheet with parchment paper. -
Step 2
In a microwave-safe bowl, combine shredded cheese and cream cheese. Microwave in 30-second intervals, stirring in between, until fully melted and combined. -
Step 3
Stir in almond flour and baking powder (if using) until a dough forms. -
Step 4
Separate the eggs. Whisk the egg whites until stiff peaks form. In a separate bowl, whisk the egg yolks. -
Step 5
Gently fold the egg yolks into the cheese and almond flour mixture. -
Step 6
Gently fold the whipped egg whites into the dough until just combined. Be careful not to deflate the egg whites. -
Step 7
Spoon or roll dough into 6-8 small balls and place on the prepared baking sheet. -
Step 8
Bake for 15-20 minutes, or until golden brown and cooked through.
Important Information
Nutrition Facts (Per Serving)
It is important to consider this information as approximate and not to use it as definitive health advice.
Allergy Information
Please check ingredients for potential allergens and consult a health professional if in doubt.